Configure registry access
Registry admins can limit who can access a registry by navigating to a registry's settings and assigning a user's role to Admin, Member, or Viewer. Users can have different roles in different registries. For example, a user can have a view role in "Registry A" and a member role in the "Registry B".
Only registry admins can restrict visibility, configure user roles, or remove users from registries in an organization.
Registry roles permissions
A user within an organization can have different roles, and therefore permissions, for each registry in their organization.
W&B has three different types of roles: Organization roles, team roles, and registry roles.
Your role in a team has no impact or relationship on your role in any registry.
The proceeding table lists the different roles a user can have and their permissions:
| Permission | Permission Group | Viewer | Member | Admin | Owner |
|---|---|---|---|---|---|
| View a collection’s details | Read | X | X | X | X |
| View a linked artifact’s details | Read | X | X | X | X |
| Usage: Consume an artifact in a registry with use_artifact | Read | X | X | X | X |
| Download a linked artifact | Read | X | X | X | X |
| Download files from an artifact’s file viewer | Read | X | X | X | X |
| Search a registry | Read | X | X | X | X |
| View a registry’s settings and user list | Read | X | X | X | X |
| Create a new automation for a collection | Create | X | X | X | |
| Turn on Slack notifications for new version being added | Create | X | X | X | |
| Create a new collection | Create | X | X | X | |
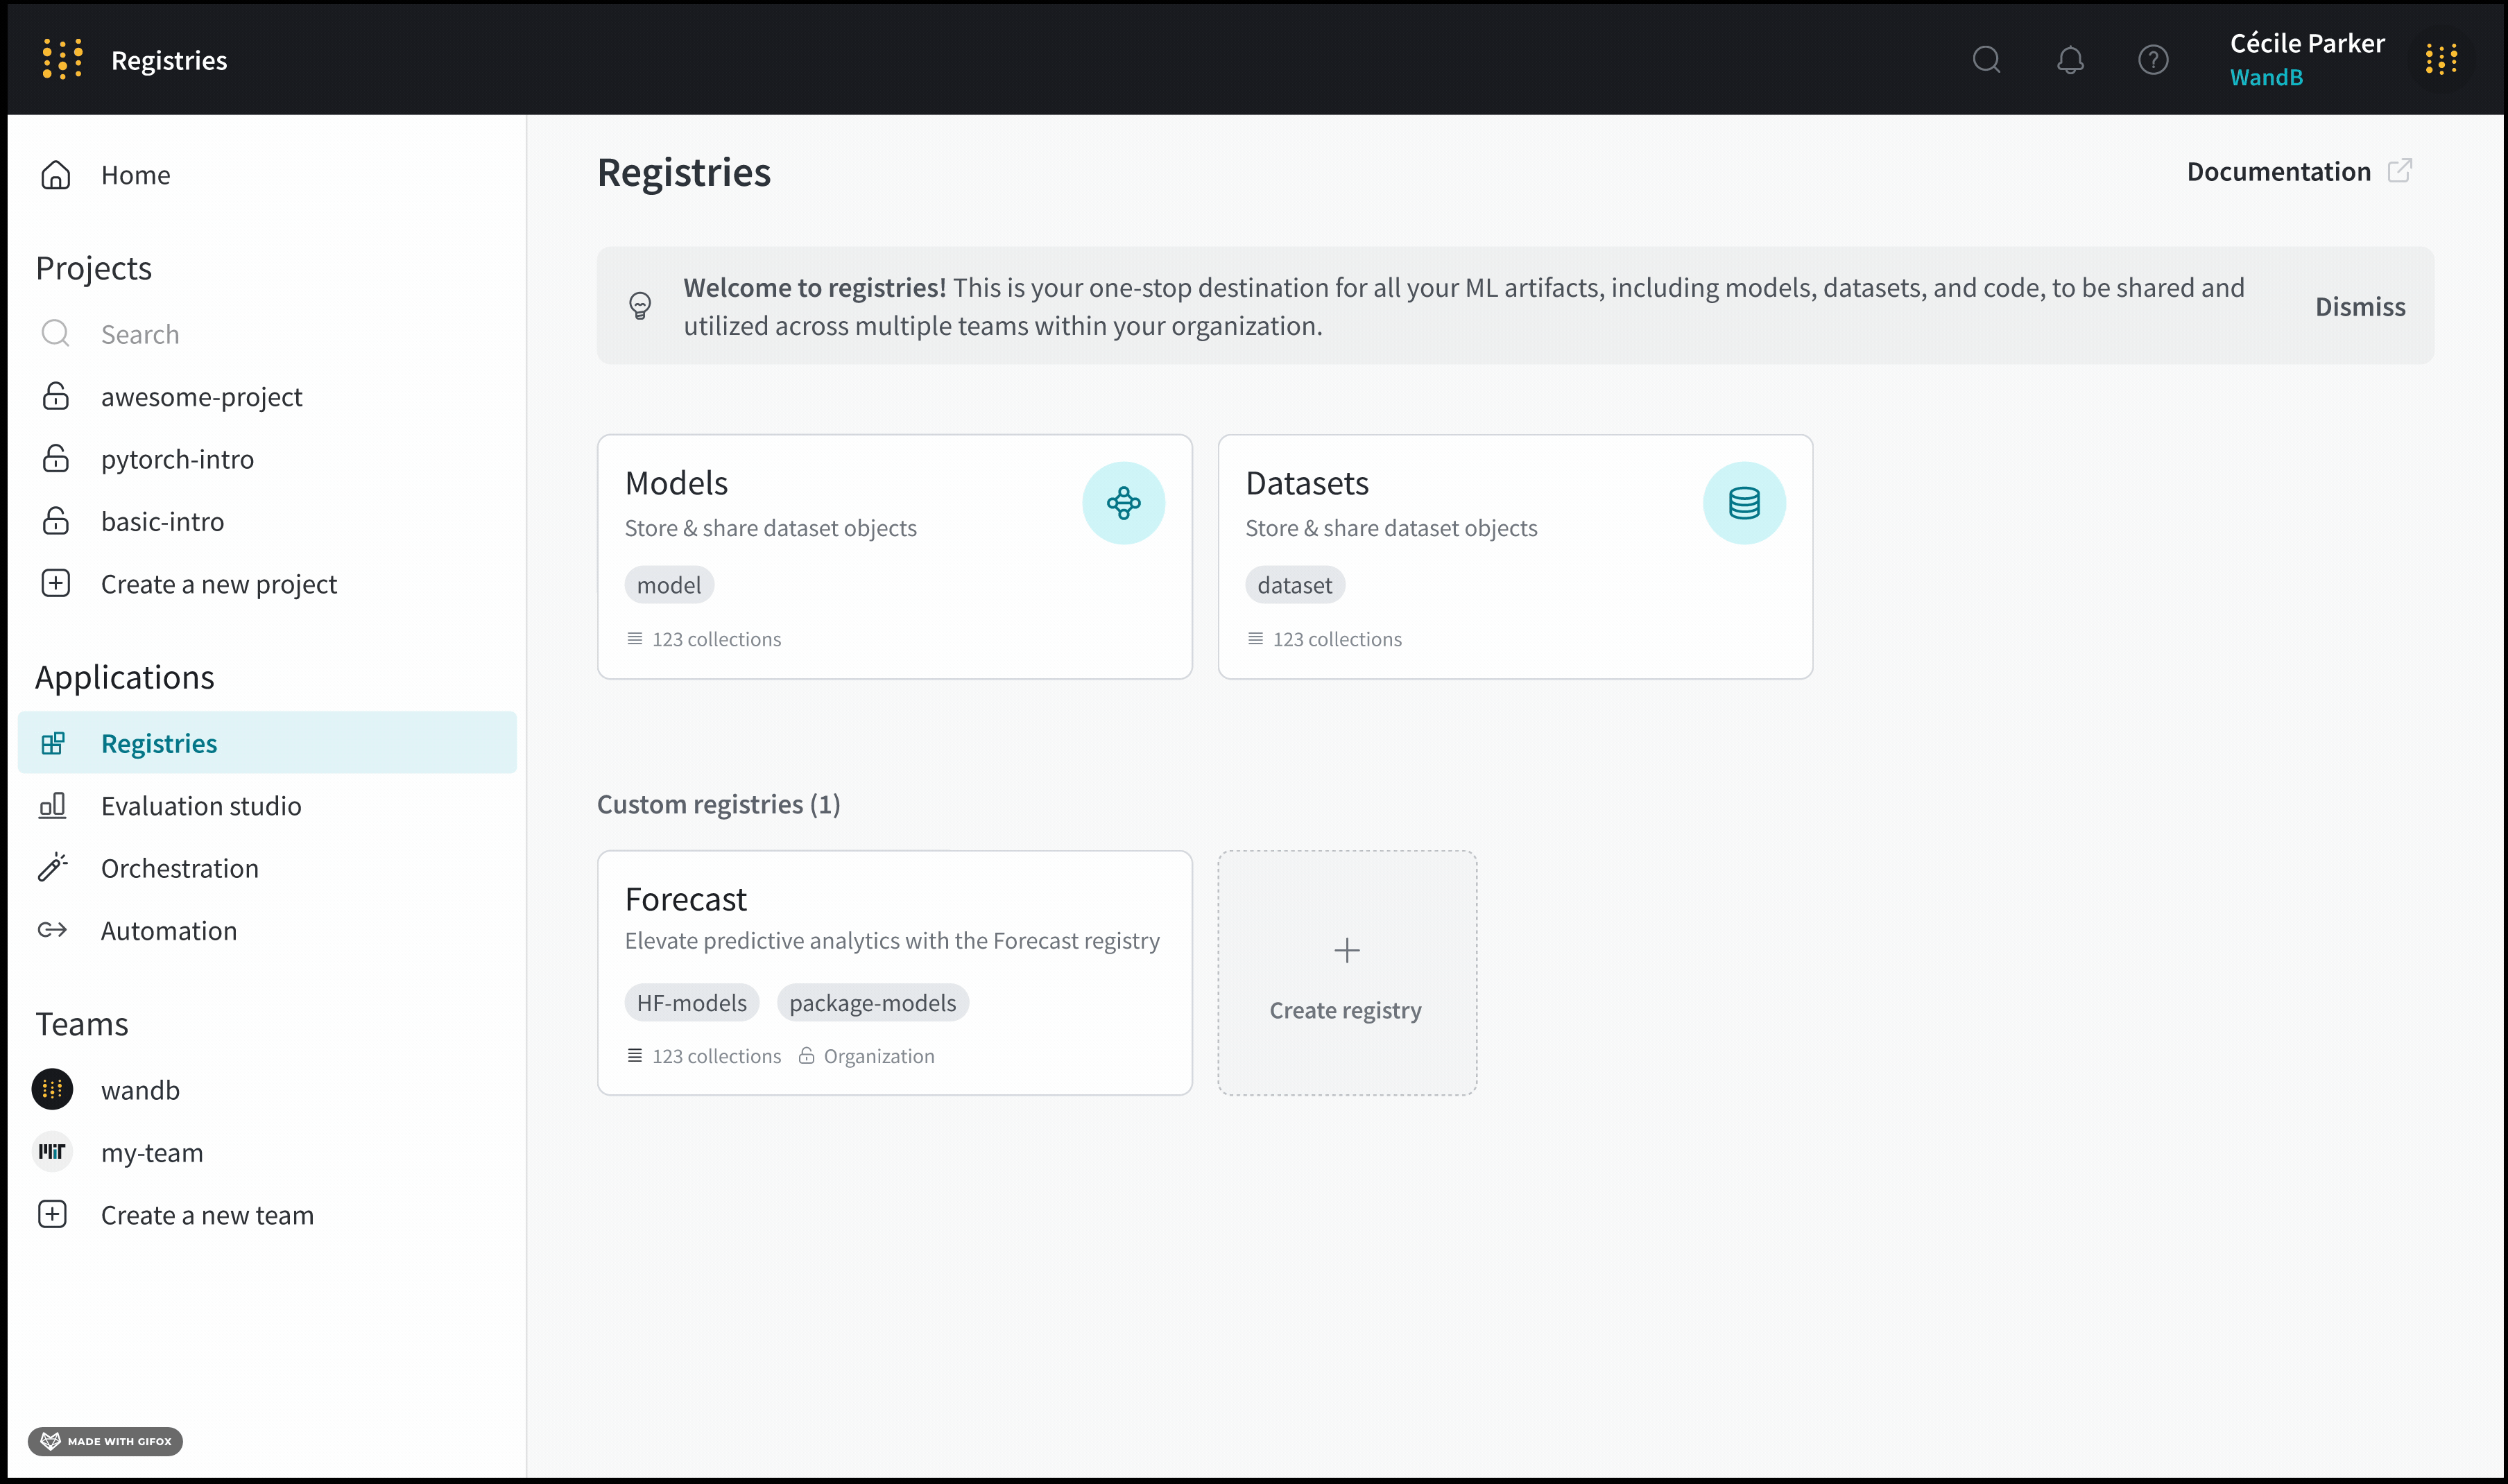
| Create a new custom registry | Create | X | X | X | |
| Edit collection card (description) | Update | X | X | X | |
| Edit linked artifact description | Update | X | X | X | |
| Add or delete a collection’s tag | Update | X | X | X | |
| Add or delete an alias from a linked artifact | Update | X | X | X | |
| Link a new artifact | Update | X | X | X | |
| Edit allowed types list for a registry | Update | X | X | X | |
| Edit custom registry name | Update | X | X | X | |
| Delete a collection | Delete | X | X | X | |
| Delete an automation | Delete | X | X | X | |
| Unlink an artifact from a registry | Delete | X | X | X | |
| Edit accepted artifact types for a registry | Admin | X | X | ||
| Change registry visibility (Organization or Restricted) | Admin | X | X | ||
| Add users to a registry | Admin | X | X | ||
| Assign or change a user's role in a registry | Admin | X | X |
Configure user roles in a registry
- Navigate to the Registry App in the W&B App UI.
- Select the registry you want to configure.
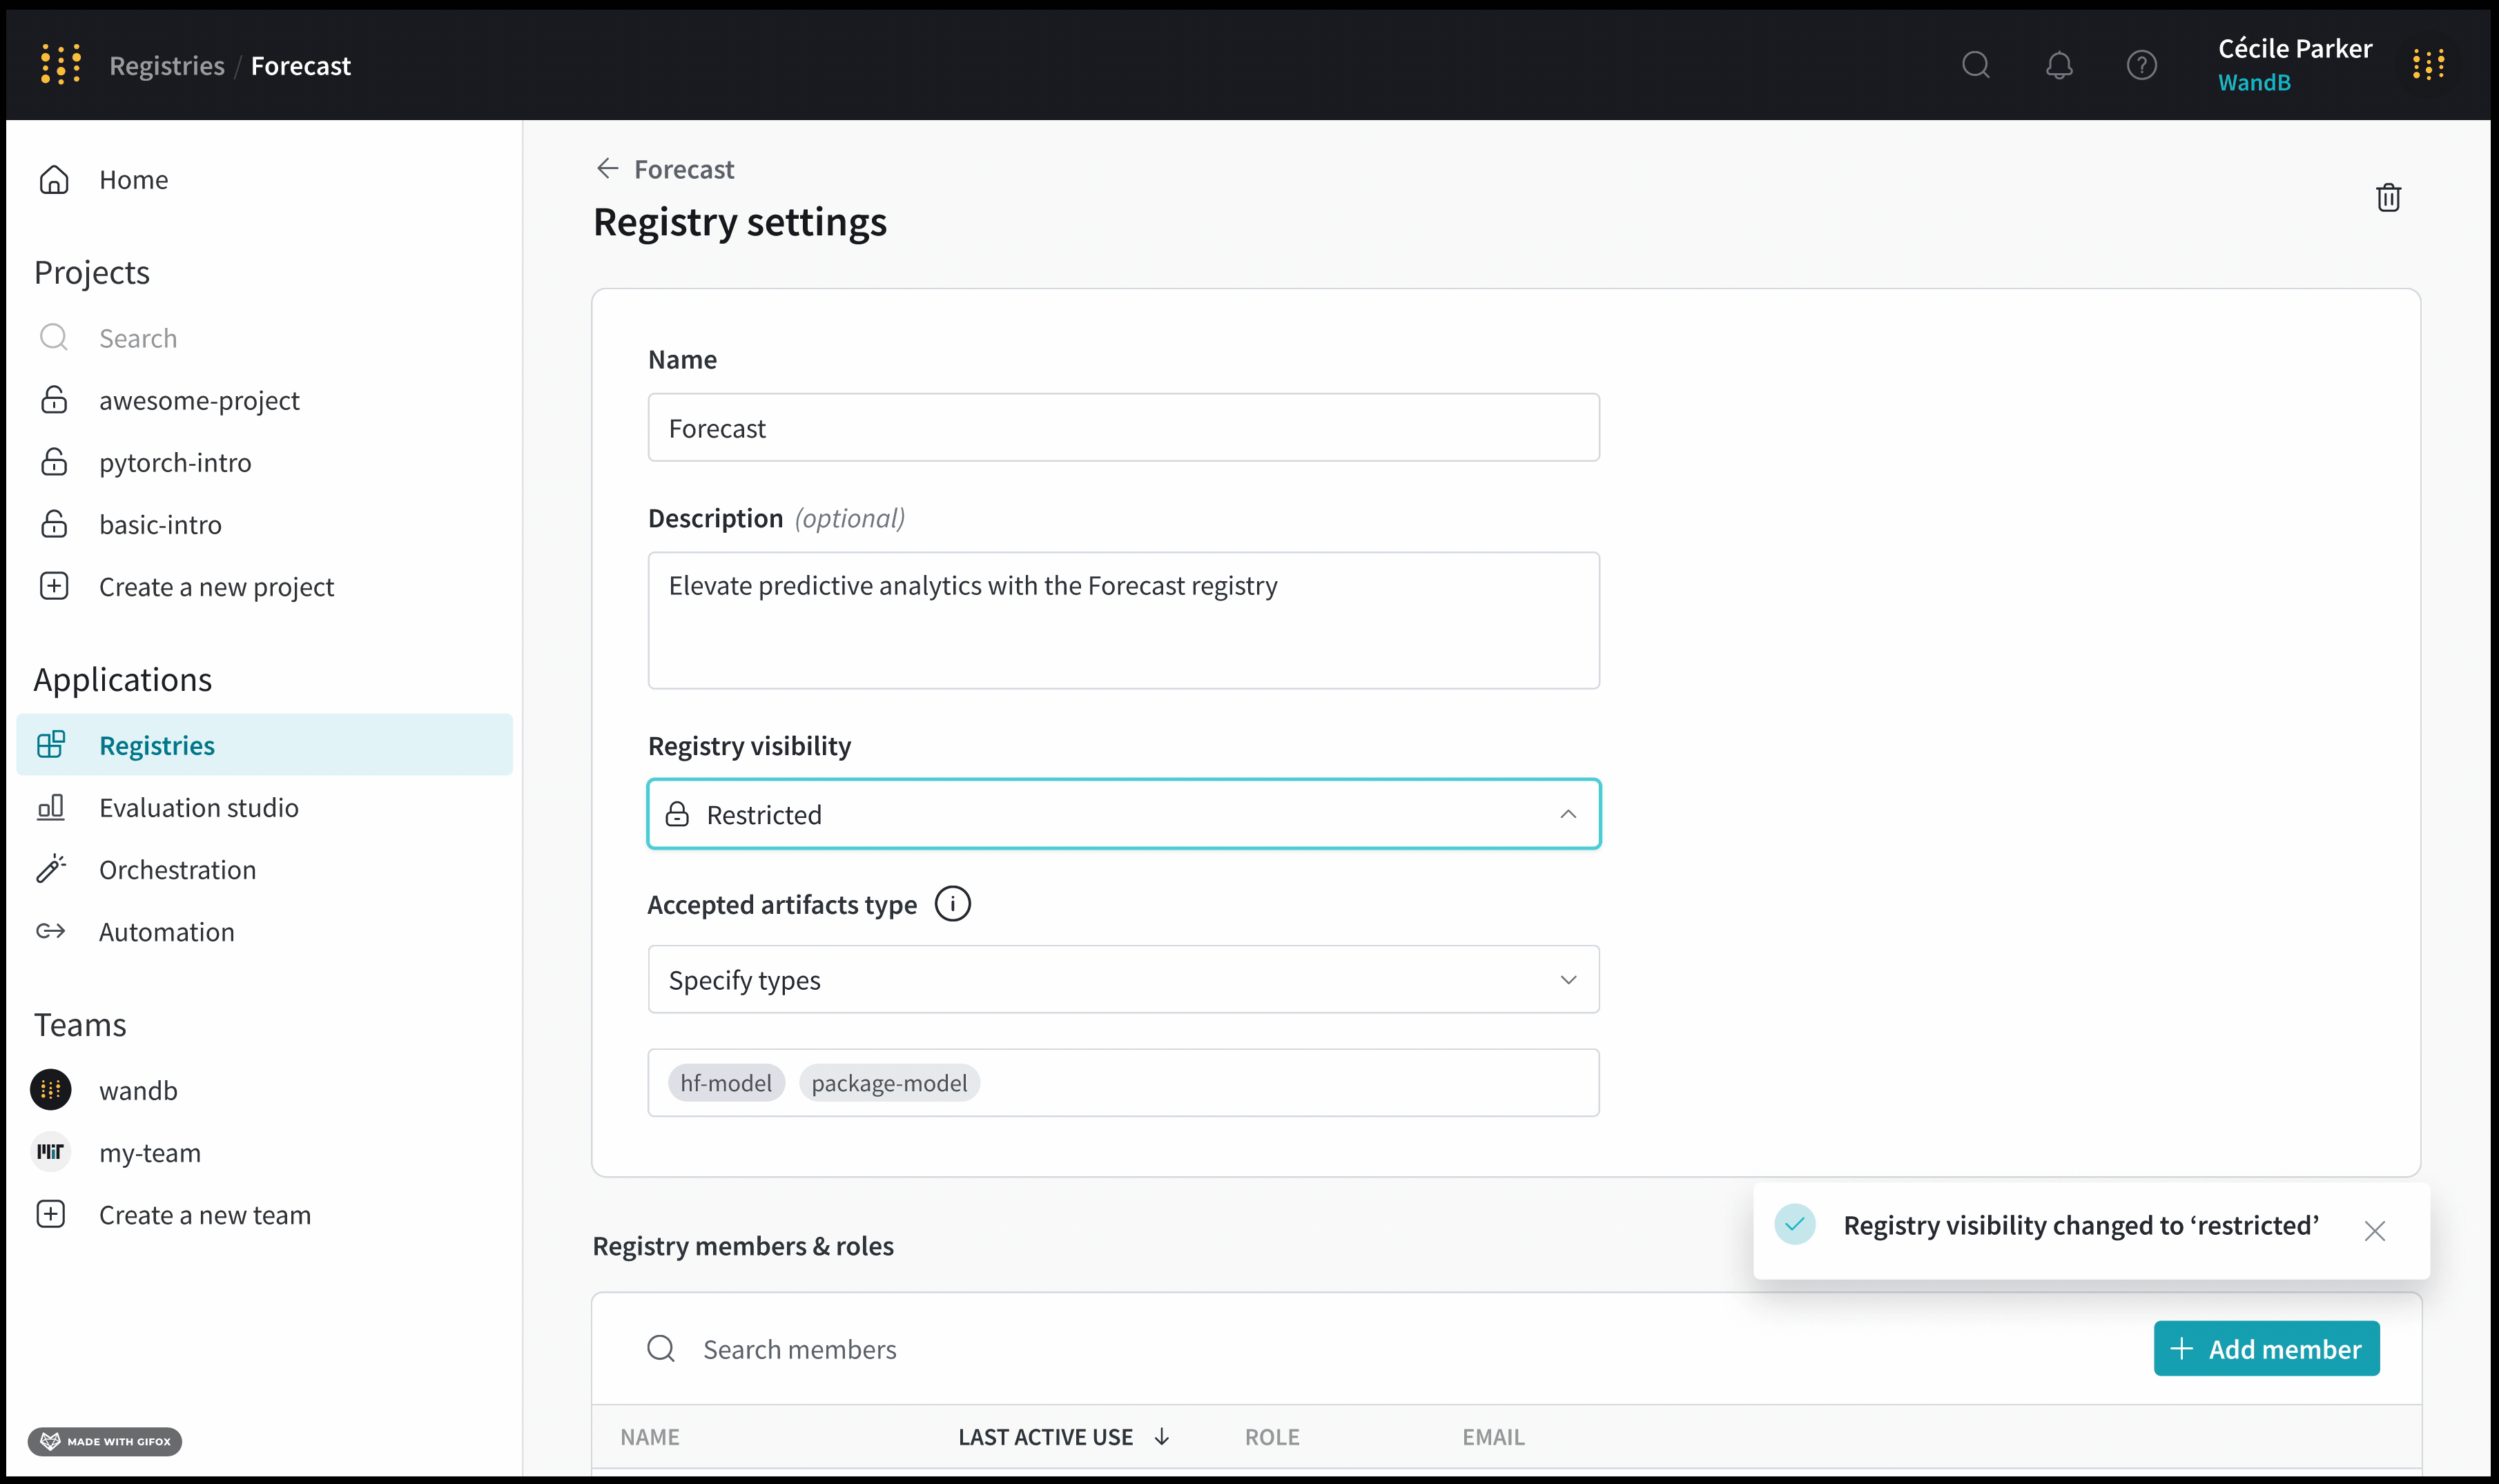
- Click on the gear icon on the upper right hand corner.
- Scroll to the Registry members and roles section.
- Within the Member field, search for the user you want to edit permissions for.
- Click on the user's role within the Registry role column.
- From the dropdown, select the role you want to assign to the user.
Remove a user from a registry
- Navigate to the Registry App in the W&B App UI.
- Select a core or custom registry.
- Click on the gear icon on the upper right hand corner.
- Scroll to the Registry members and roles section and type in the username of the member you want to remove.
- Click the Delete button.
Registry visibility types
There are two registry visibility types: restricted or organization visibility. The following table describes who has access to the registry by default:
| Visibility | Description | Default role | Example |
|---|---|---|---|
| Organization | Everyone in the org can access the registry. | By default, organization administrators are an admin for the registry. All other users are a viewer in the registry by default. | Core registry |
| Restricted | Only invited org members can access the registry. | The user who created the restricted registry is the only user in the registry by default, and is the organization's owner. | Custom registry or core registry |
Restrict visibility to a registry
Restrict who can view and access a custom registry. You can restrict visibility to a registry when you create a custom registry or after you create a custom registry. A custom registry can have either restricted or organization visibility. For more information on registry visibilities, see Registry visibility types.
The following steps describe how to restrict the visibility of a custom registry that already exists:
- Navigate to the Registry App in the W&B App UI.
- Select a registry.
- Click on the gear icon on the upper right hand corner.
- From the Registry visibility dropdown, select the desired registry visibility.
Continue if you select Restricted visibility:
- Add members of your organization that you want to have access to this registry. Scroll to the Registry members and roles section and click on the Add member button.
- Within the Member field, add the email or username of the member you want to add.
- Click Add new member.